3D-Printed Rodmaking Tools
Small shop tools for the bamboo build process. The blank-making tools tie to steps of the Morgan Hand Mill workflow; the grip, ferrule, and finishing tools serve the later stages the class notes stop short of. All are FDM-printable in PETG or PLA, generated parametrically, and validated watertight. STLs export in print orientation.
Parametric source: generate_rod_tools_stls.py — edit the parameter block (indicator stem size, ferrule bore, PVC diameter) and re-run to fit your hardware.
Depth-gauge base
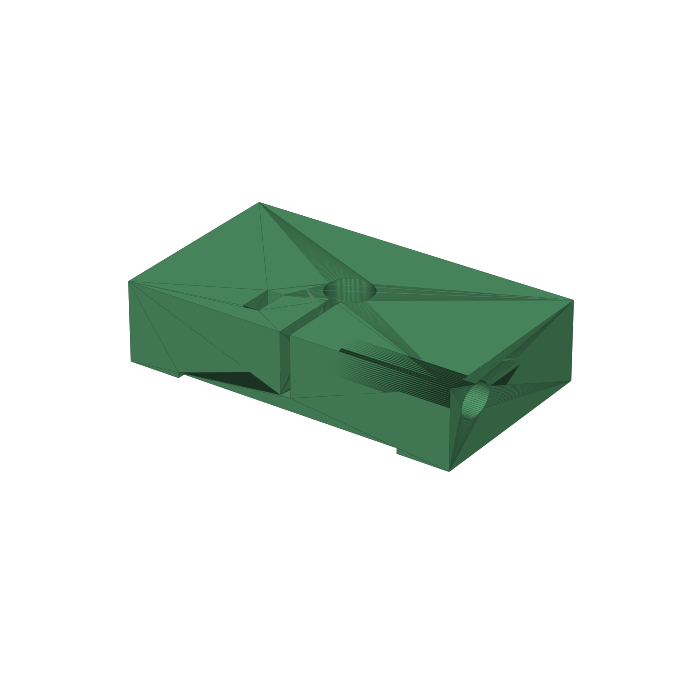
For: checking strip dimensions over steel planing forms — the “set taper from spreadsheet” and final-planing steps.
A 70 × 40 base that rides the flats of the planing form on two end pads (the middle is relieved so bamboo dust doesn’t tilt it). A 3/8"-stem dial indicator drops through the centre bore and a printed pinch slit with an M4 cross-bolt clamps it: the socket-head bolt drives through a deep access tunnel on one side, and the nut drops into a top-loaded hex track on the other. Fit a 60° contact point to the indicator and it reads strip depth in the form groove directly.
depth_gauge_base.stl · print 1 · hardware: M4 × 35 socket-head bolt + nut, dial indicator with 3/8" stem and 60° point
Node-sanding jig
For: “sand nodes on disc sander until flat & flush with enamel” — the fancy sanding jig the class notes tell you to use if you have one.
A 90 mm block with an 8.2 mm channel: the strip lies enamel-down with the node proud of the face, and the printed tapered wedge presses in alongside to friction-lock it — no hardware at all. Present the jig face to the disc sander and the node sands dead flush without dishing the strip on either side.
node_sanding_jig.stl + node_jig_wedge.stl · print 1 each · no hardware
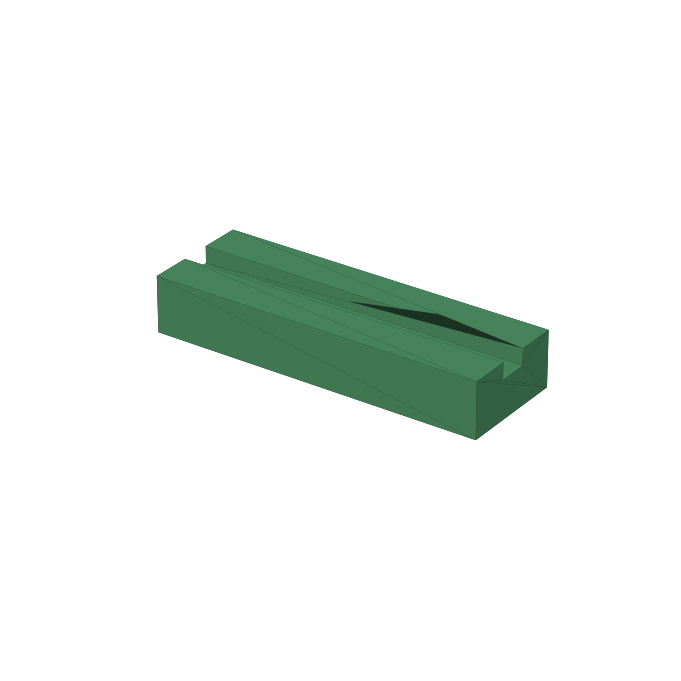
Strip-sanding plate
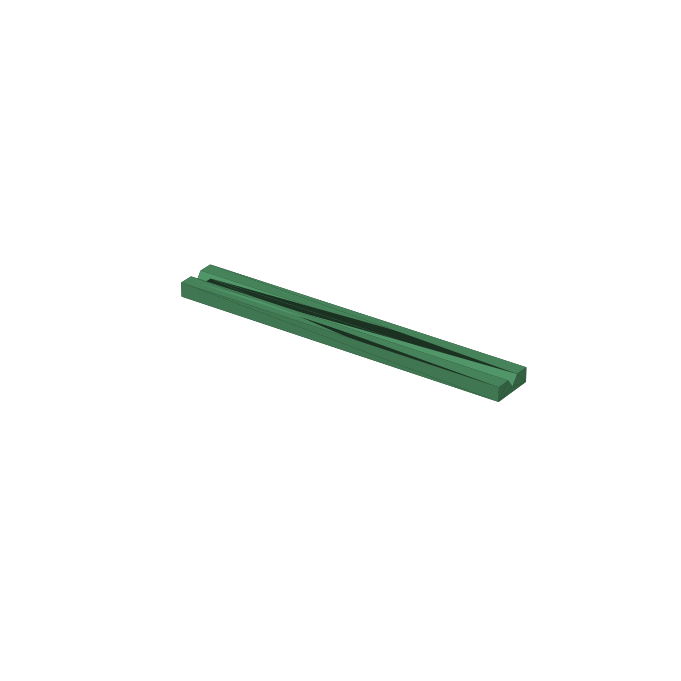
For: flattening/leveling the enamel face along a strip’s full length — the hand-sanding counterpart to the node jig above.
A 250 mm plate with a 60° V-channel down its length. The strip drops in point-down on its beveled (pith-side) edge; the enamel face sits proud above the flat rails on either side. Run a flat sanding board over the top — once the board rides the rails flush, the enamel face is level for the whole length, and the rails stop you from sanding past it.
strip_sanding_plate.stl · print 1 · no hardware
Binding-cord spool caddy
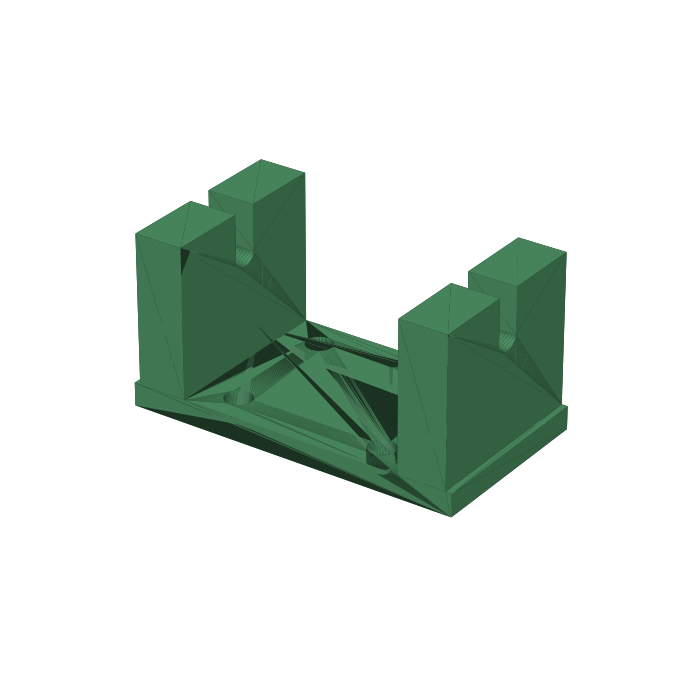
For: cord payoff during binding — implements the Garrison article’s spool fix.
The bulk cord spool rides an M8 axle that drops into open cradle slots in the two uprights. The Ø3.5 socket in the base takes a 1/8" brass rod bent into an overhead loop: cord comes off the spool up through the loop, and the springy rod absorbs tension spikes instead of passing them into the wrap — the exact shock-absorber trick from the Garrison Binder article.
spool_caddy.stl · print 1 · hardware: M8 × 120 bolt (or M8 rod) + washers, ~300 mm of 1/8" brass rod, 4 wood screws
Cork press
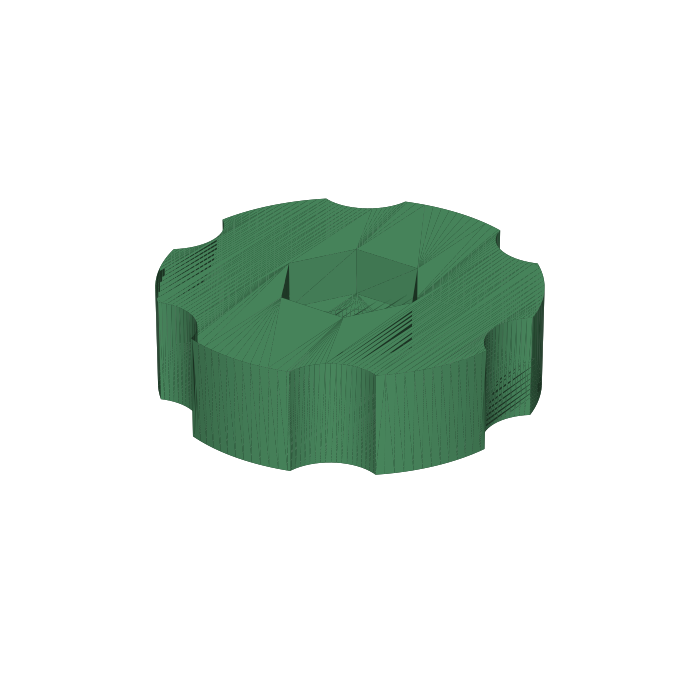
For: gluing up a grip from cork rings.
Two Ø60 pressure discs and two six-lobed knobs with captive M8 nuts. Stack glued cork rings on a length of M8 threaded rod between the discs, spin the knobs down, and leave it to cure. Press the grip off-rod, then ream to the blank and glue it on.
cork_press_disc.stl ×2 · cork_press_knob.stl ×2 · hardware: M8 threaded rod ~300 mm
Finishing V-stands
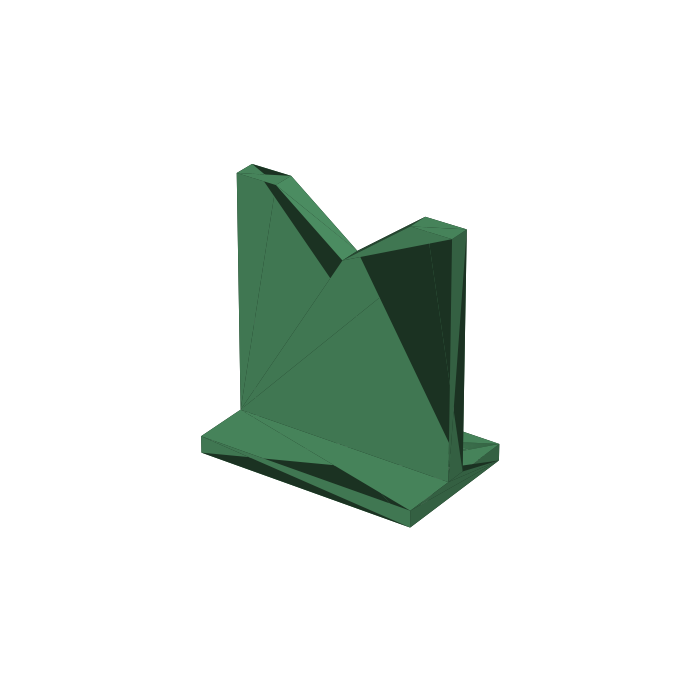
For: supporting and hand-turning a blank during wrap finishing and varnish work.
120 mm-tall stands with a deep 90° V. Glue felt into the V so the blank turns without marking. Print two (or three for long butt sections) and screw them to a board at whatever spacing the section needs.
finishing_v_stand.stl ×2 · hardware: felt strip, 4 wood screws
Ferrule slitting collar
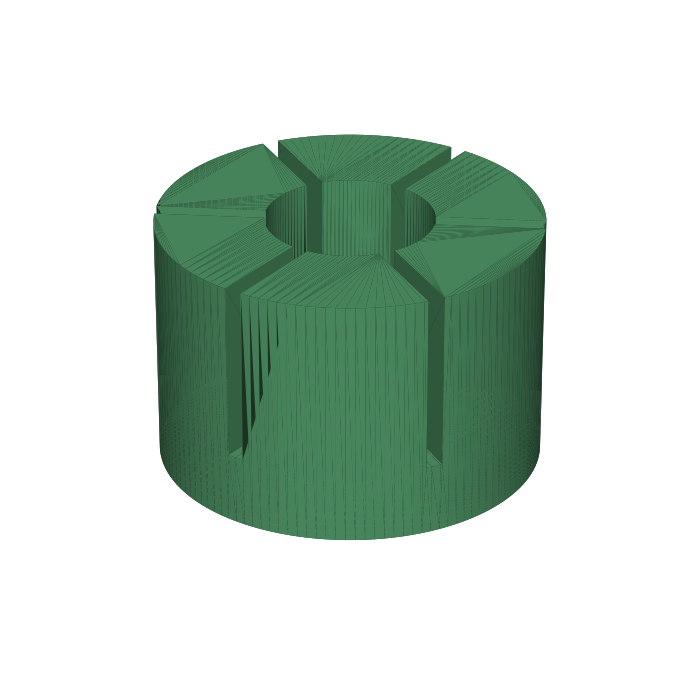
For: cutting even serrations in ferrule tangs.
A collar that slips over the ferrule with six 0.7 mm saw-guide slots. The slots stop 4 mm above the base, so the jeweler’s saw bottoms out at a consistent depth and the cuts land at exactly 60° spacing. The bore is parametric — regenerate for each ferrule size you use (the included STL is Ø7.0).
ferrule_slit_collar.stl · print per ferrule size · hardware: jeweler’s saw
Varnish dip-tube cap
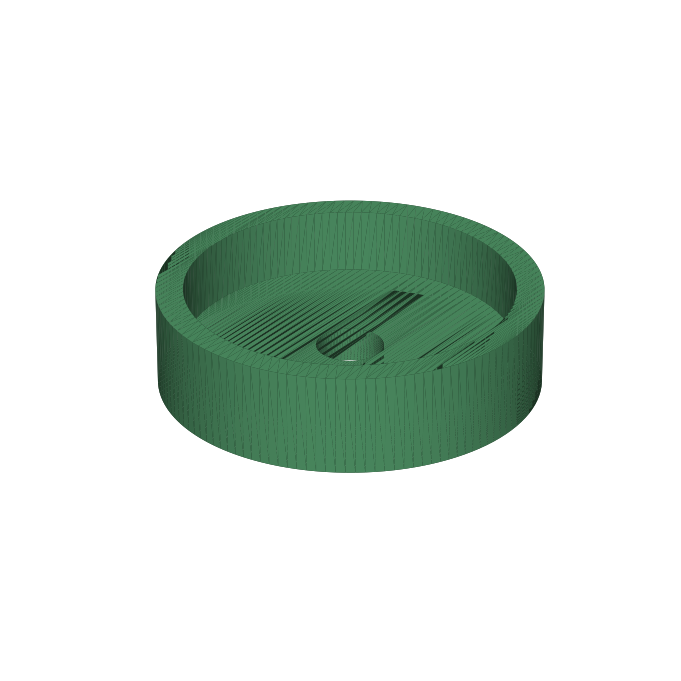
For: dust-free drying after dip-varnishing in a 1.5" PVC tube.
Caps the tube; the Ø10 centre hole passes the hanging wire so the freshly dipped section can drip and dry inside, sealed from shop dust. It prints pocket-up with zero overhang — flip it over to fit the tube. Regenerate PVC_OD if your tube measures differently.
dip_cap.stl · print 1
Print settings
PETG or PLA, 0.2 mm layers, 3–4 perimeters, 30–40% infill. No supports on any part. The depth-gauge base benefits from a dead-flat first layer — print it alone on a clean bed.
Related
- Morgan Hand Mill — the build process these tools serve
- 3D-Printed Garrison Binder — the binder these support
- Ring-Flyer Orbit Binder — design study for an orbiting-spool binder